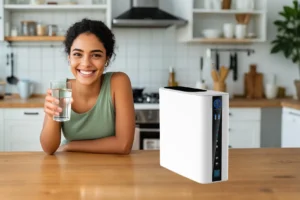
A Step-by-Step Guide to Installing Your Water Purifier
Installing a water purifier can seem daunting, but following a structured process ensures a smooth experience.
Begin by preparing the necessary tools, such as a wrench, screwdriver, and plumber’s tape, and ensuring
the installation area is clean and well-lit.
Begin by preparing the necessary tools, such as a wrench, screwdriver, and plumber’s tape, and ensuring
the installation area is clean and well-lit.
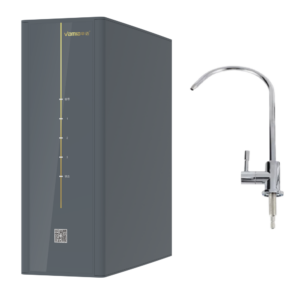
For under-sink models, start by turning off the water supply and draining the pipes. Attach the mounting bracket
to the cabinet wall, then secure the purifier unit. Connect the inlet tube to the cold water supply using a saddle valve,
ensuring tight connections to prevent leaks. Install the outlet tube to the faucet adapter, then reactivate the water
supply and check for leaks.
to the cabinet wall, then secure the purifier unit. Connect the inlet tube to the cold water supply using a saddle valve,
ensuring tight connections to prevent leaks. Install the outlet tube to the faucet adapter, then reactivate the water
supply and check for leaks.
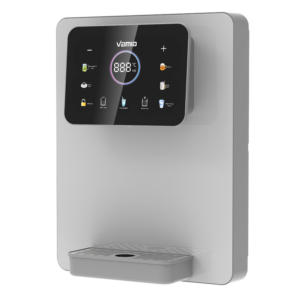
Countertop purifiers are simpler: unpack the unit, rinse the filters as instructed, and assemble the components.
Attach the faucet diverter or use the provided pitcher, ensuring proper alignment for water flow. For whole-house
systems, professional installation is recommended, as they involve connecting to the main water line and require
knowledge of plumbing systems.
Attach the faucet diverter or use the provided pitcher, ensuring proper alignment for water flow. For whole-house
systems, professional installation is recommended, as they involve connecting to the main water line and require
knowledge of plumbing systems.
Water Purifier Factory, Water Purifier For Home, Water Purifier Machine,Water Purifier, Water Filter Purifier System
After installation, flush the system according to the manufacturer’s guidelines to remove any carbon dust or debris.
Test the water flow and taste, and monitor for leaks over the first few days. Proper installation not only ensures
functionality but also maximizes the purifier’s lifespan and performance, providing peace of mind for safe drinking water.A Step-by-Step Guide to Installing Your Water Purifier
Test the water flow and taste, and monitor for leaks over the first few days. Proper installation not only ensures
functionality but also maximizes the purifier’s lifespan and performance, providing peace of mind for safe drinking water.